1. Introduction
Installing Waveform
In the world of music production there's a lot of software that's absurdly expensive. Luckily, there's also a lot of software that's completely free. (and barely anything in-between for some reason)
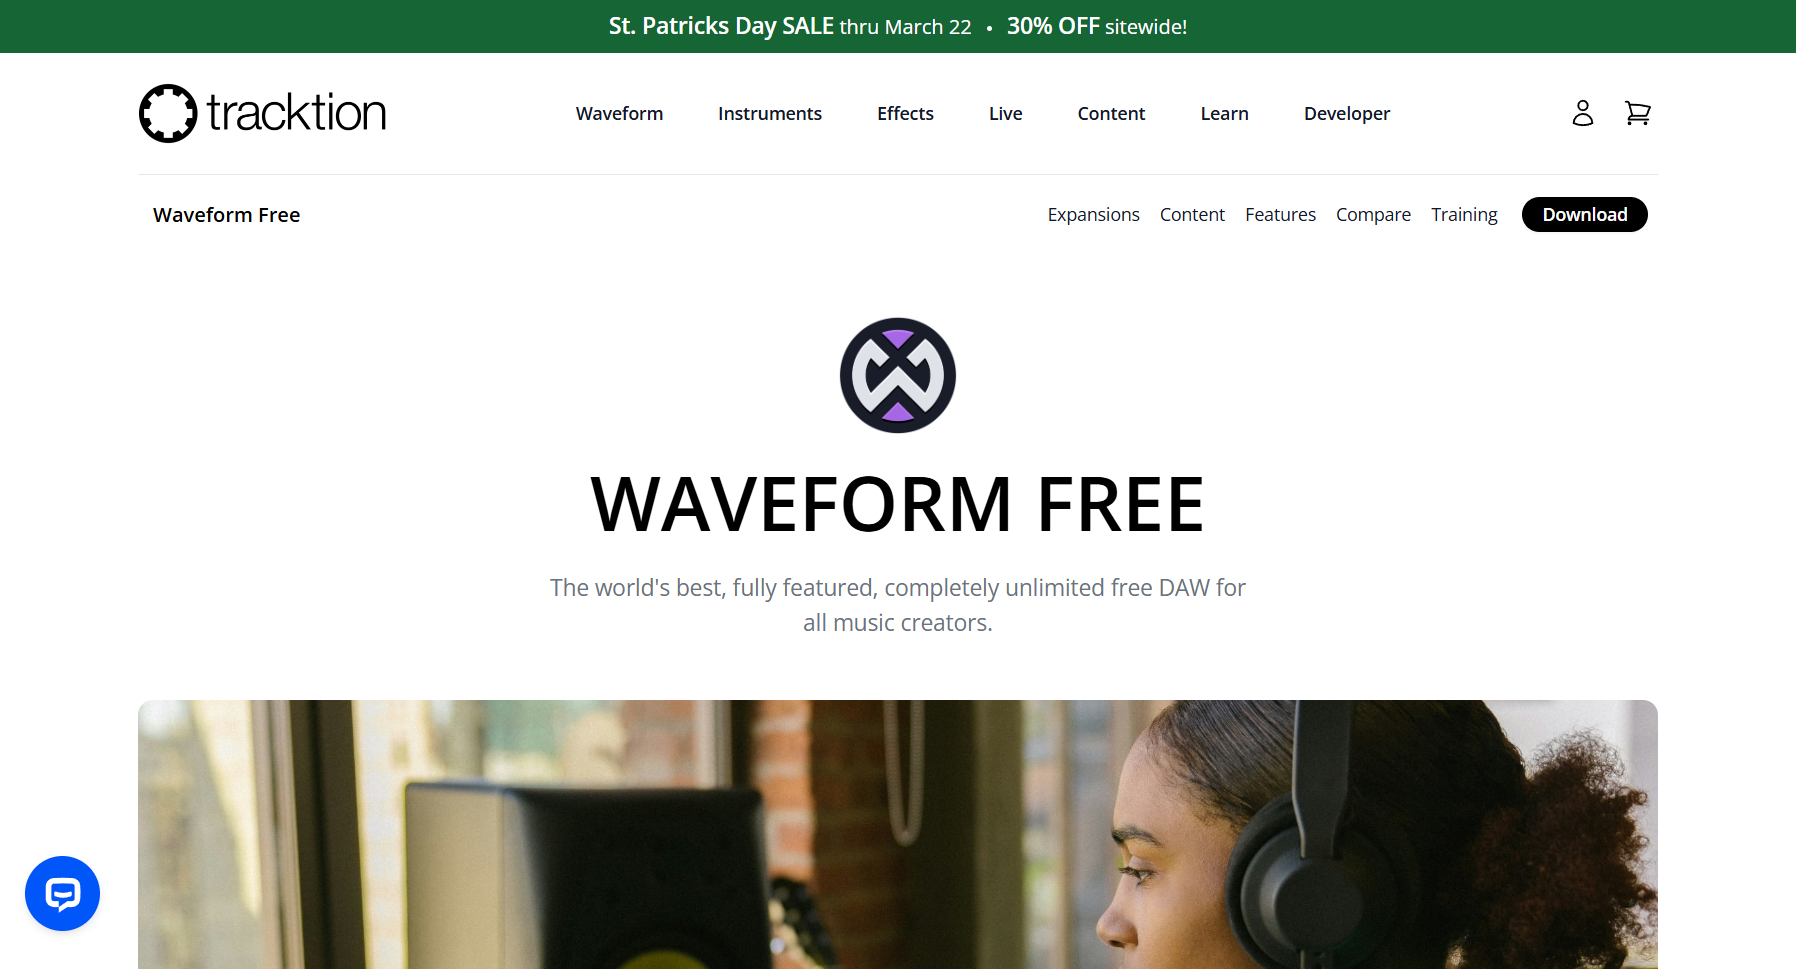
For this tutorial I'm going to be recommending a DAW called Waveform. It can be installed for FREE here. I'm not sponsored in any way, this is just what I personally use to make music.
Downloading a Soundfont
Now you could go and download all kinds of VST Plugins on your own. But to get you started I'd recommend instead downloading a Soundfont.
Waveform has a built in plugin that lets you automatically play Soundfont files, and they can often come with many different instruments including drums. So it's a good starting point.
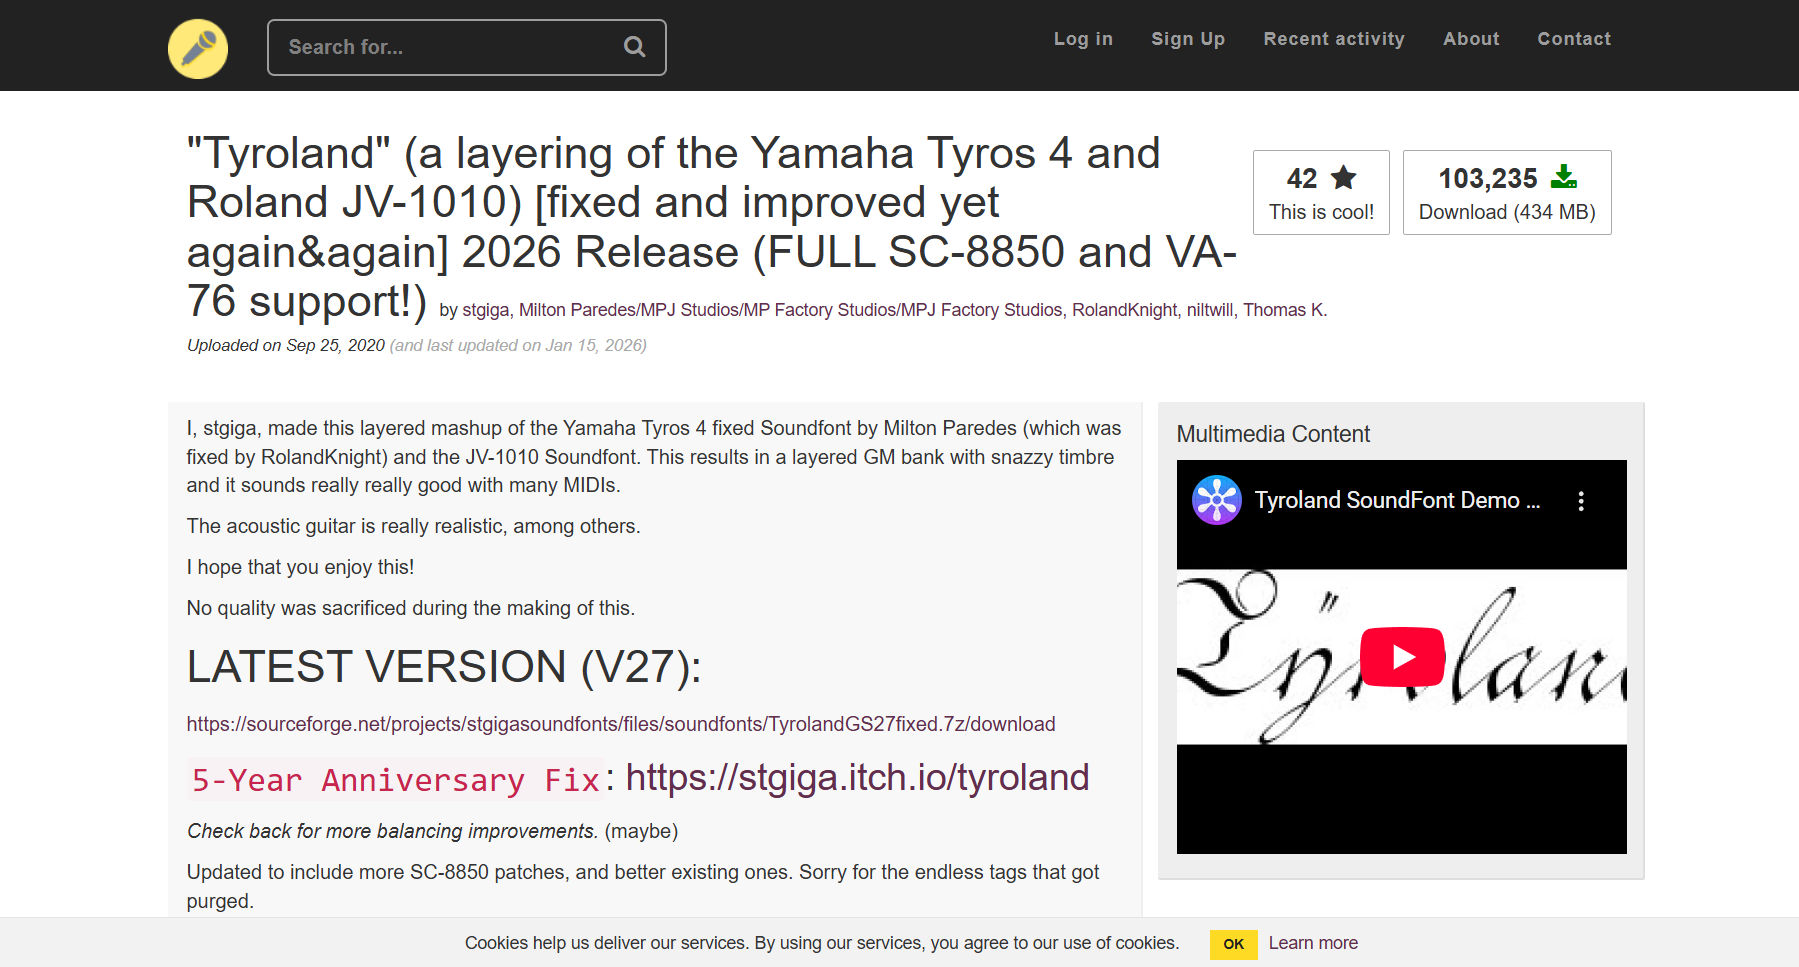
I'd personally recommend Tyroland as a basic Soundfont to start out with. But the website listed there contains all sorts of others you can download if you want.
How to Use Waveform
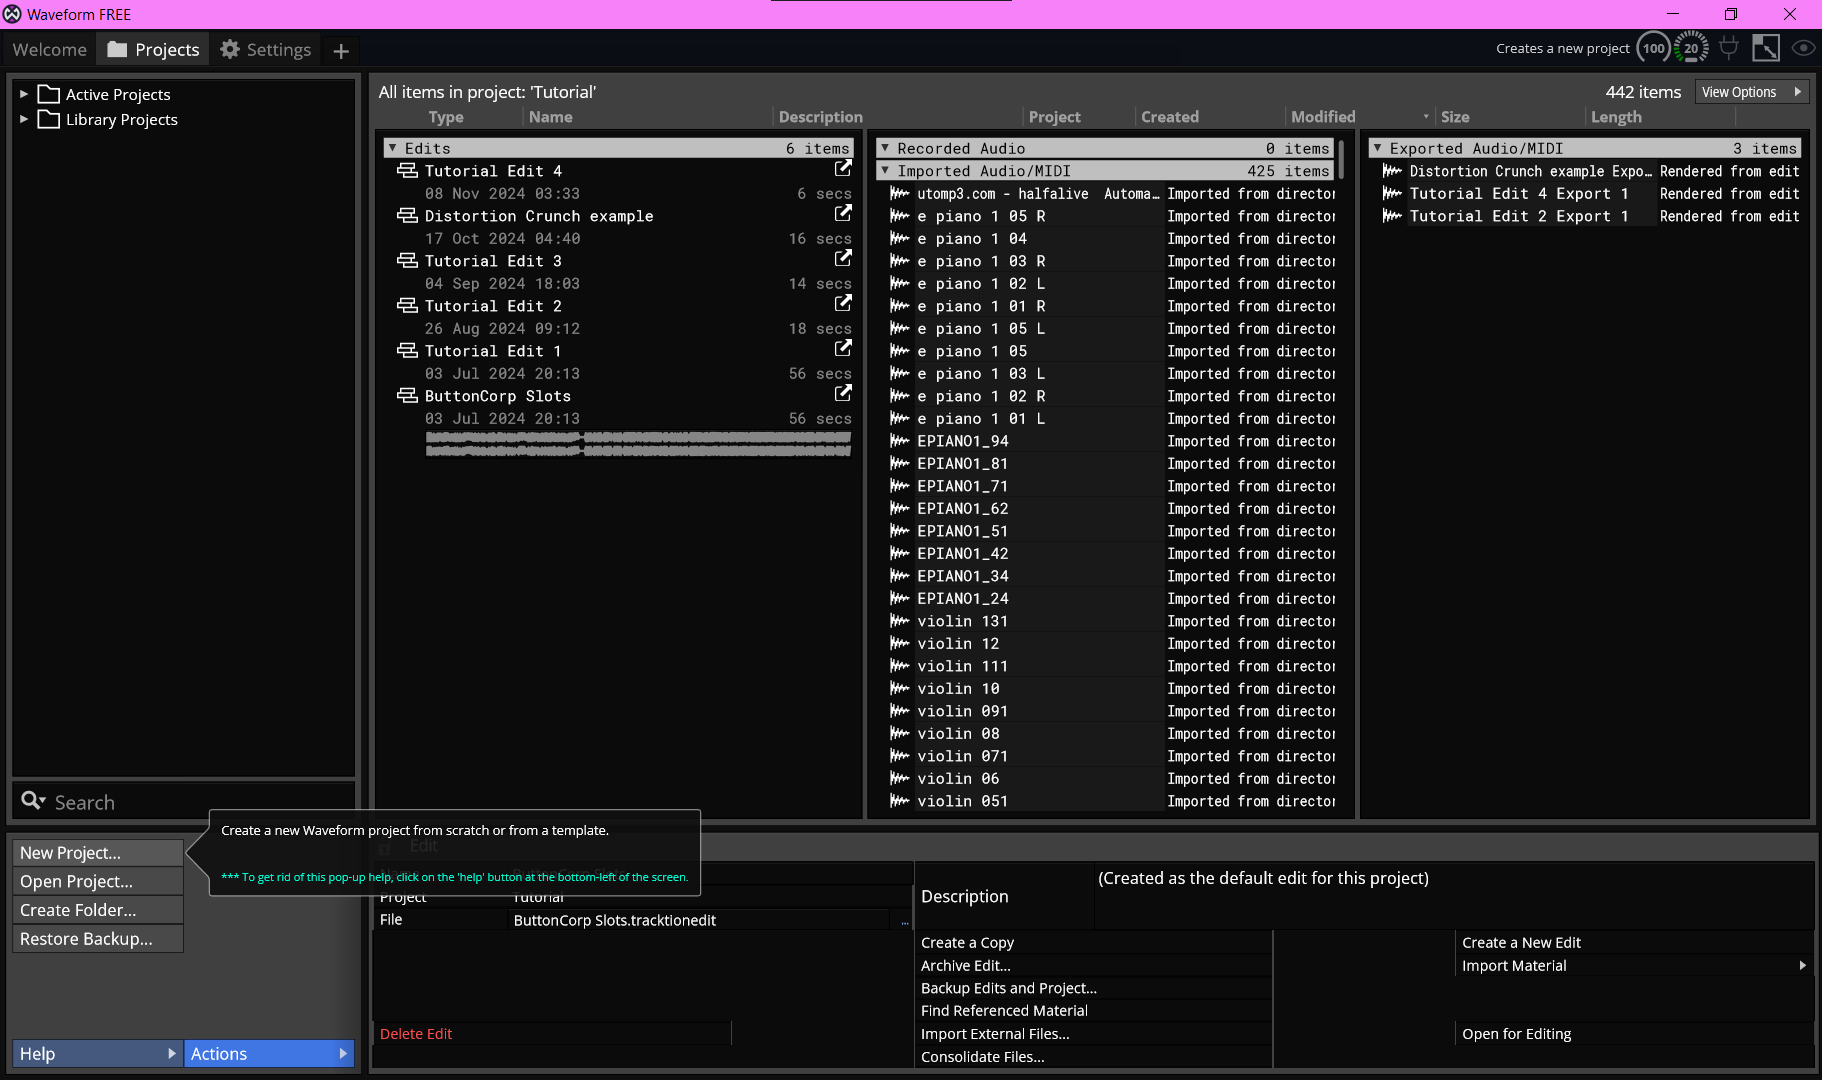
When you first boot up Waveform, after following the guide to configure the program, you're gonna want to press this button to create a new project.
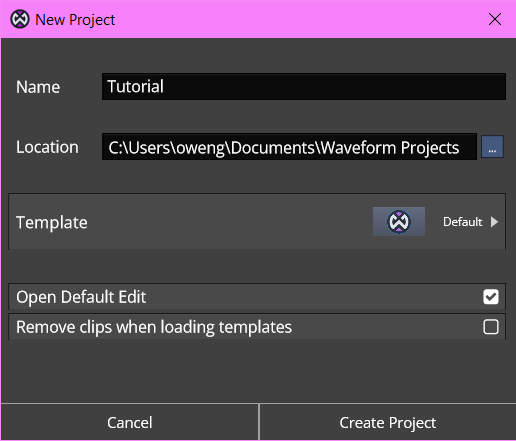
Go ahead and name the project whatever you like, and you can place it in whichever folder you like. Just be sure not to change any other settings for the time being.
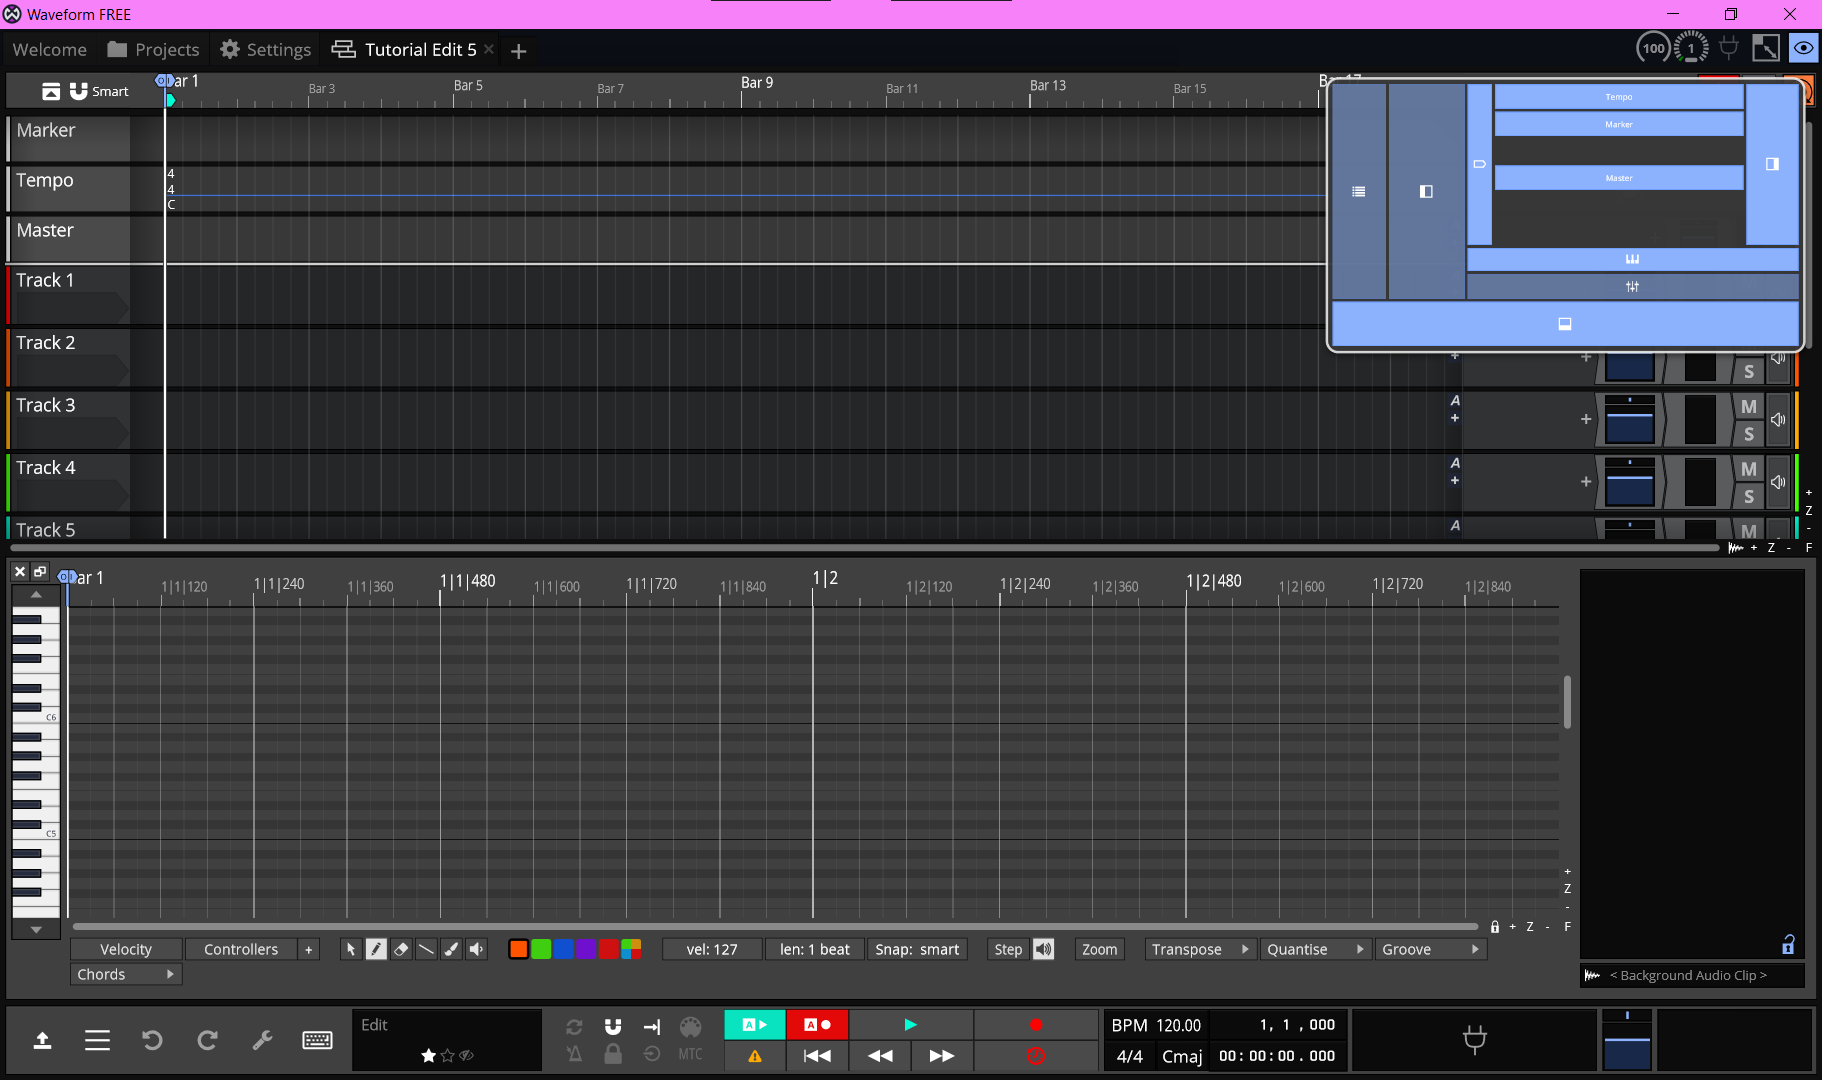
The first thing I want to draw your attention to is the eyeball in the very top right corner. This lets you show and hide certain panels of the user interface. For the time being, just click to toggle the boxes until it matches what I have here.
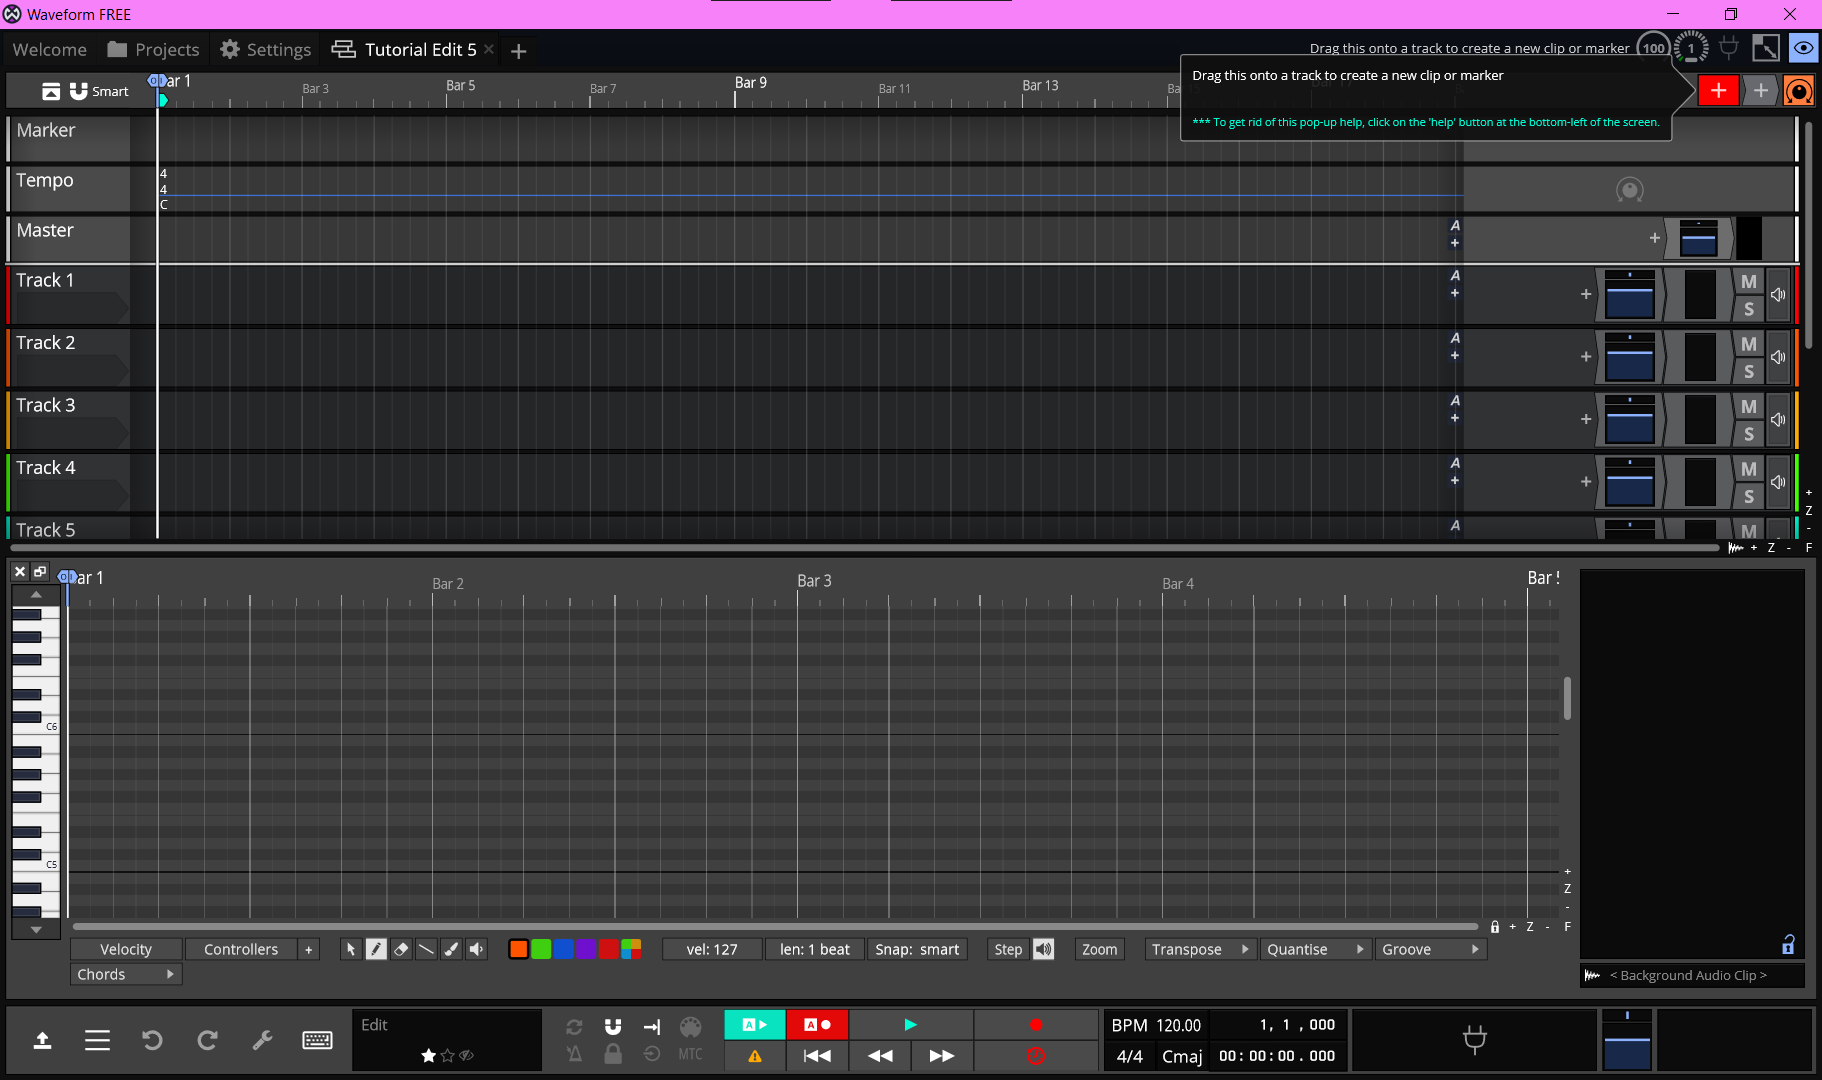
Next, observe the red plus icon in the top right. Drag it onto a track and select "New MIDI Clip".
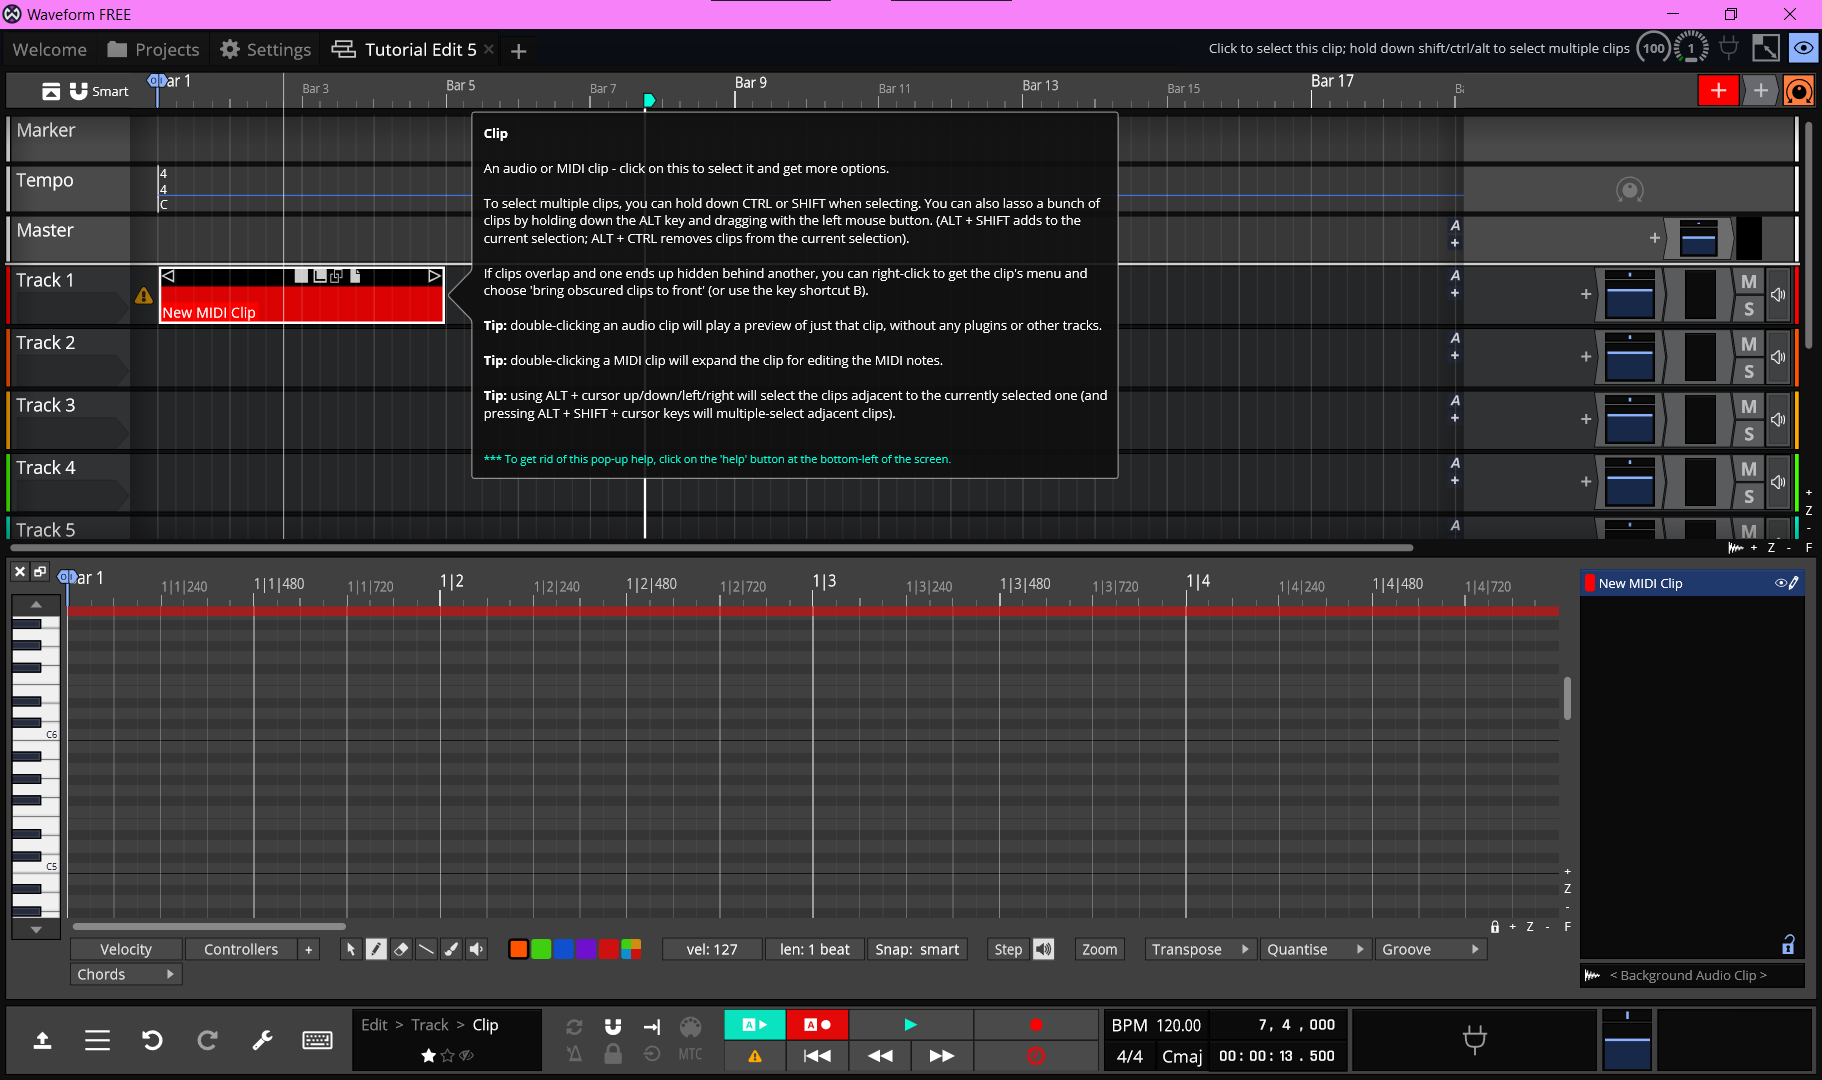
A "MIDI clip" is essentially instructions for the computer on what to play. You can think of it like the digital equivalent of sheet music. It's only sequences of notes, but not the actual sound that they make. So we will need to assign an instrument to hear the notes before we can start making anything.
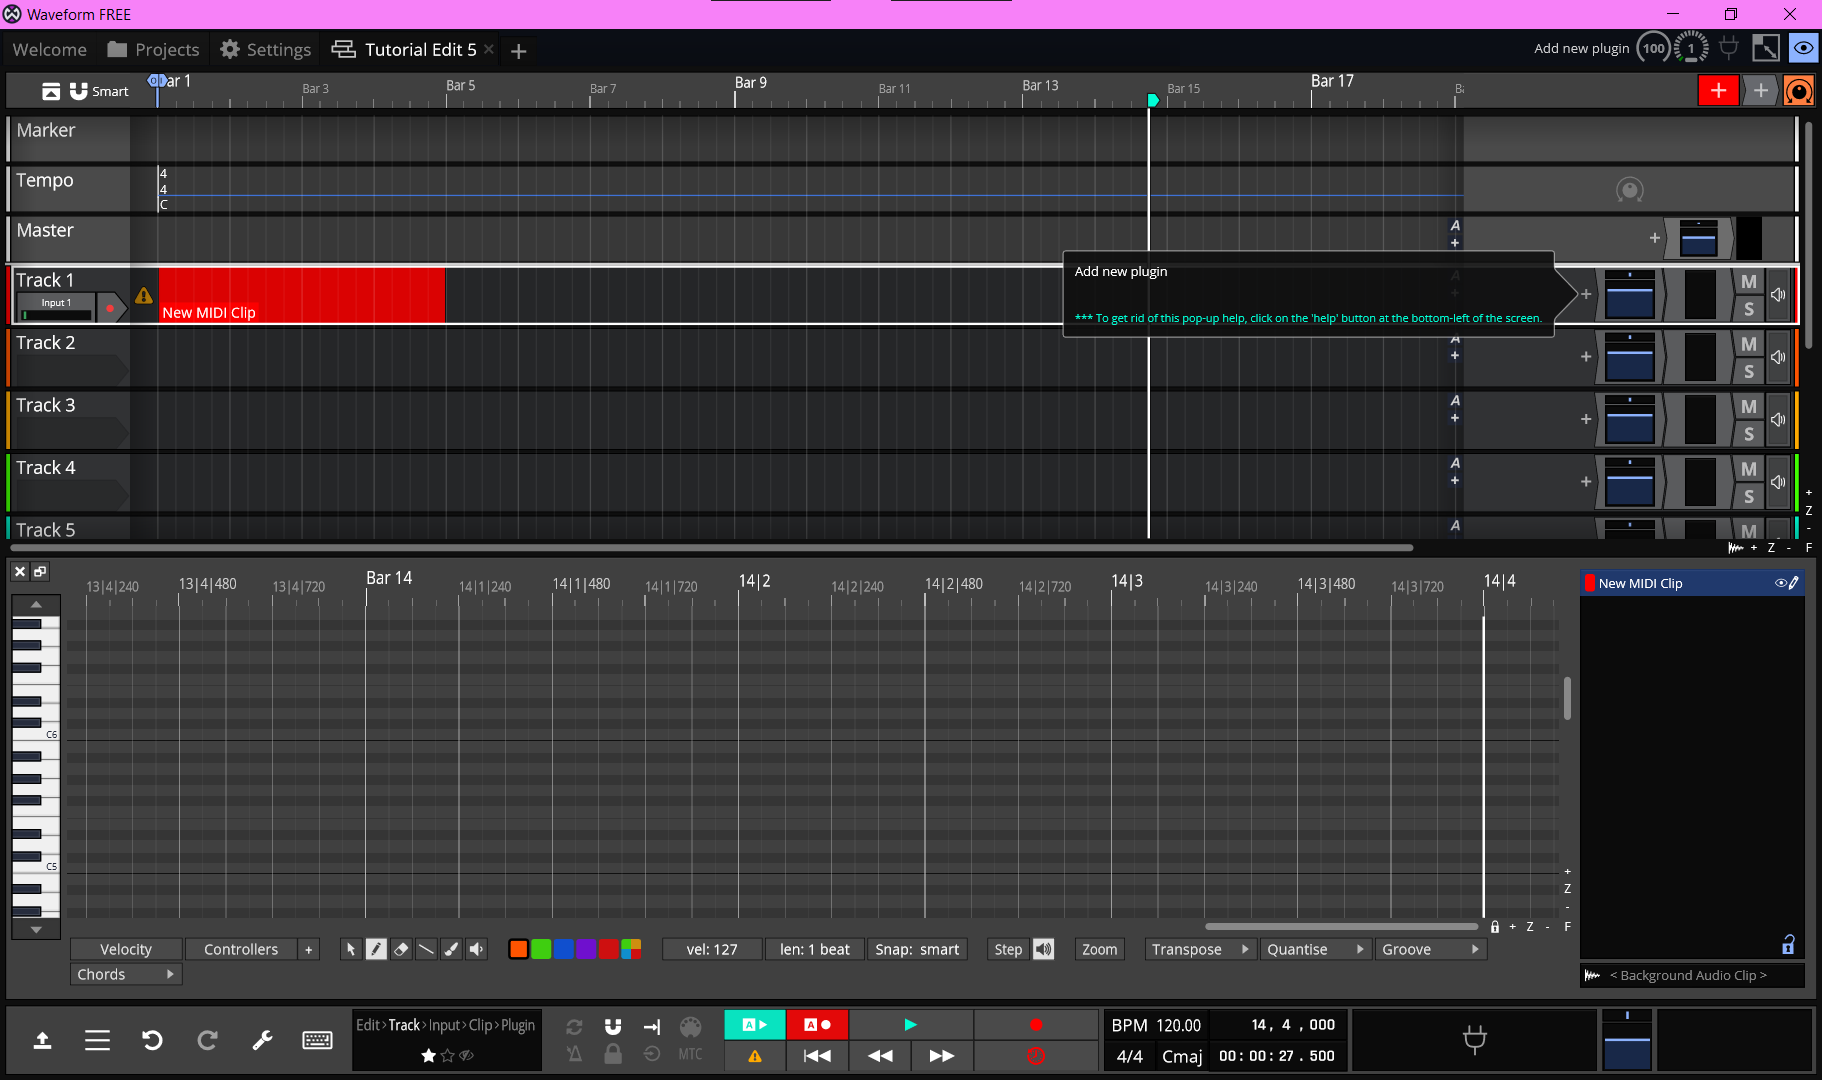
If you look to the far right of the track, right next to the blue volume slider there should be a plus icon. This is how you add new VST Plugins. In this case, we're going to add a plugin called "Micro Sampler".
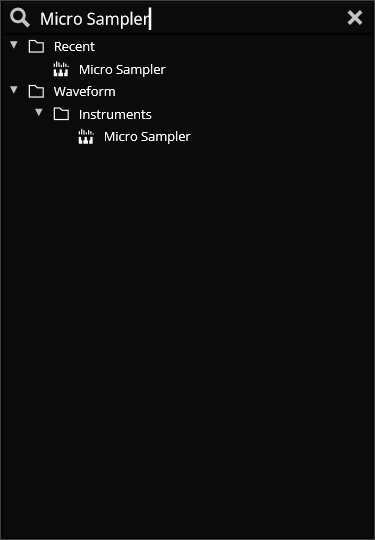
Click on the plus and when this box pops up, simply type in "Micro Sampler" and click the one with the mini piano icon. (There are 2 pictured here, but they're both the same thing)
After adding the Micro Sampler, you should see this popup. Go ahead and find the Soundfont you downloaded. It should be in .sf or .sf2 format. Drag and drop that file onto this window.
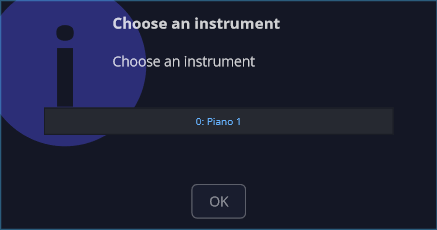
Here you'll be prompted to choose an instrument. You can click on the instrument name to open a dropdown and pick one, but I'm just going to stick to the default piano. Press OK once you've made your selection.
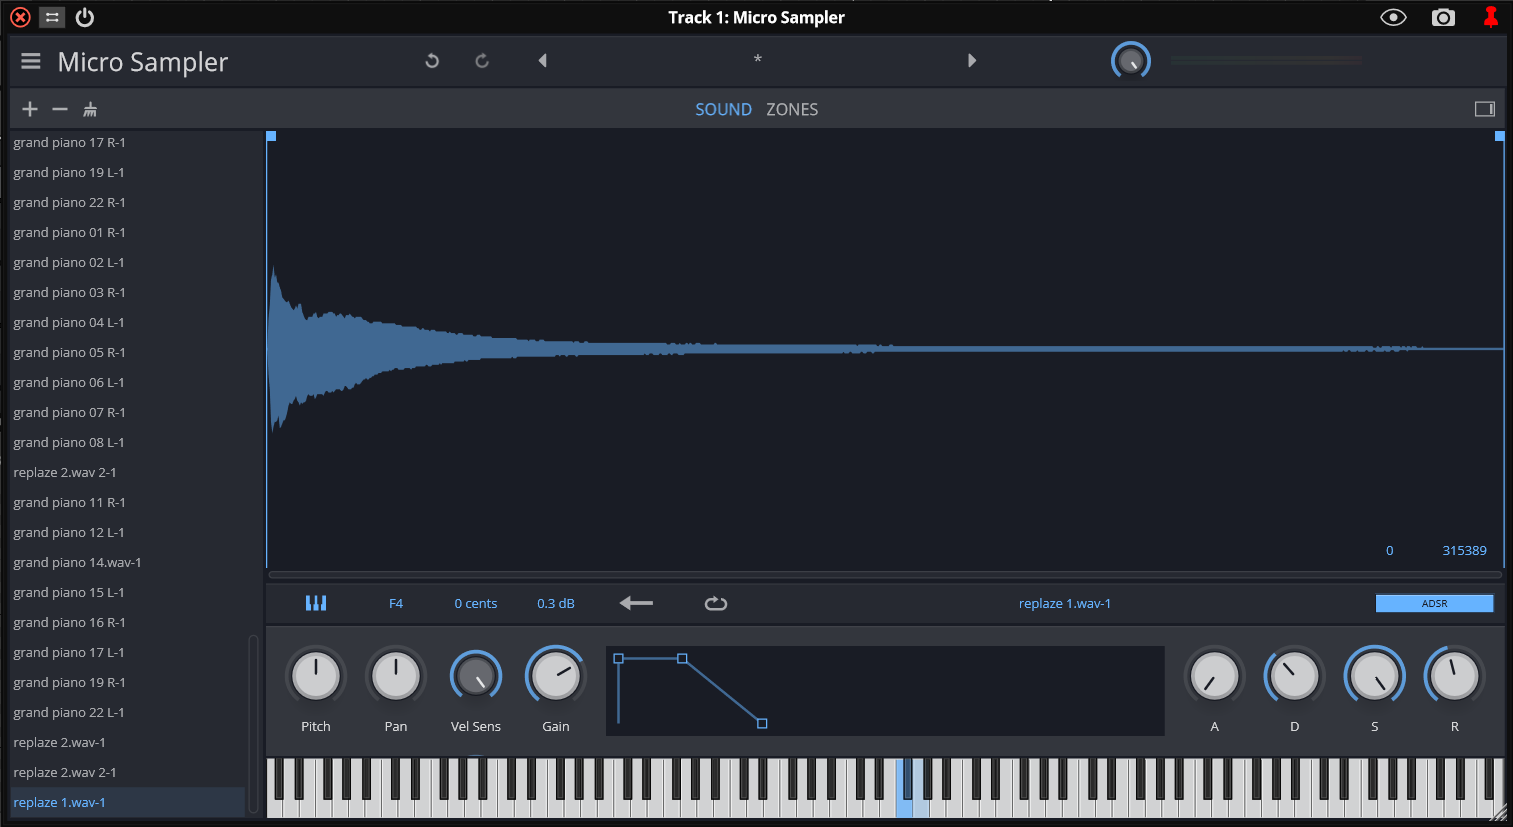
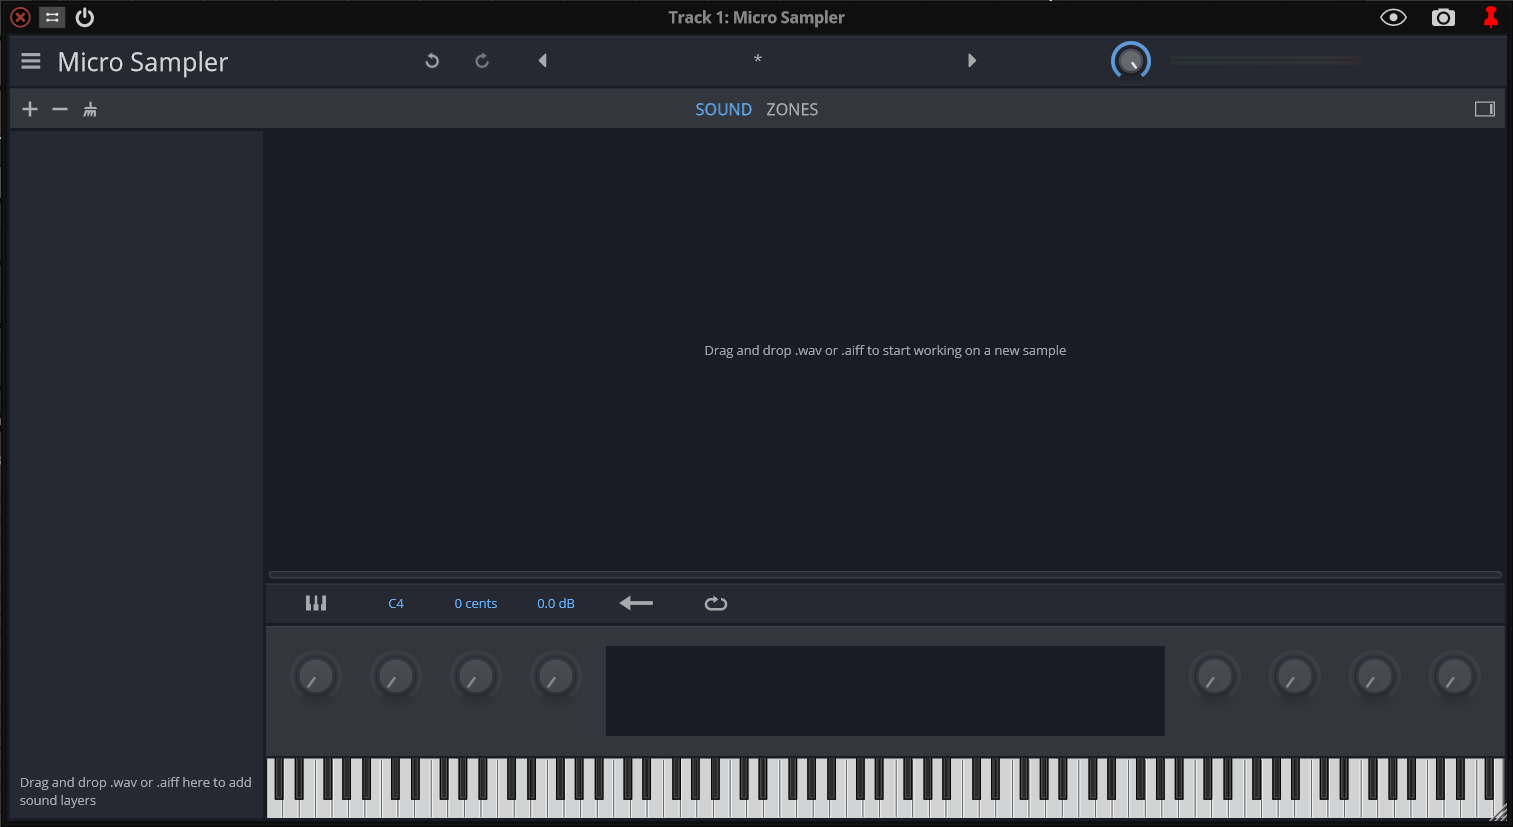
After a bit of waiting, it fill up the left side with sound names, and you should see a blue waveform in the middle. Don't worry about any of that, it's not important.
You can play around on the keyboard if you'd like to hear what the instrument sounds like, but to move on, we're going to click the X in the top left to close this window. I don't know why the X is on the left, it's really weird.

Now at long last you can start placing notes in the bottom, and you'll hear them.
This grid at the bottom is called the Piano Roll. The height of each note you place represents its pitch, and time progresses from left to right. If you want to play your tune you can use the controls at the bottom. Be aware that you might need to rewind to the beginning each time if you're not able to hear your tune.
Join me next time for Basic Music Theory.